LNC 4.0: Cheminventory - Mon, Mar 11, 2024
Storing explosive chemicals in the kernel is a wonderful idea! Surely nothing can go wrong…right?
Challenge files: https://github.com/KaligulaArmblessed/CTF-Challenges/tree/main/Cheminventory
Writeup: https://kaligulaarmblessed.github.io/post/cheminventory/
Setting Up A Kernel Debugging Station
Usually when you get a kernel challenge, the following files will be provided:
- bzImage: A compressed version of the kernel
- cheminventory.ko: The vulnerable kernel module
- config: The .config file used when the kernel was compiled – important in figuring out which protections are present
- initramfs.cpio.gs: A compressed filesystem
- run.sh: A shell script that starts qemu to run the kernel challenge – also important in figuring out which protections are present
The objective of a kernel challenge is usually to obtain privilege escalation from the provided normal user to the root user.
A typical run.sh will look like this:
#!/bin/sh
qemu-system-x86_64 \
    -kernel ./bzImage \
    -cpu qemu64,+smep,+smap \
    -m 4G \
    -smp 4 \
    -initrd initramfs.cpio.gz \
    -append "console=ttyS0 quiet loglevel=3 kaslr kpti=1" \
    -monitor /dev/null \
    -nographic \
    -no-reboot \
When you run run.sh (make sure you have qemu installed!), the qemu VM will start up and you will be greeted with a command prompt as the normal user:
/ $ whoami
cheminventory
/ $ id
uid=1000(cheminventory) gid=1000(cheminventory) groups=1000(cheminventory)
However, being the normal user isn’t terribly helpful when trying to mess with a kernel challenge as you will not have access to many useful things (e.g. /proc/kallsyms, where all the kernel symbols and their addresses are listed). As such, there is usually some setup that needs to be done before you can get down to pwning.
Becoming the Root User in the Debug Setup
It is very useful to be the root user while debugging a kernel challenge.
The following shell script can be used to unzip the initramfs archive:
mkdir initramfs
cd initramfs
cp ../initramfs.cpio.gz .
gunzip ./initramfs.cpio.gz
cpio -idm < ./initramfs.cpio
rm initramfs.cpio
cd into the unzipped initramfs folder, and inside the /etc directory, you will see a file called inittab. If you open the file, you will see something like this:
::sysinit:/etc/init.d/rcS
::once:-sh -c 'clear; setuidgid 1000 sh; poweroff'
Change the 1000 to 0 so that the file looks like this now:
::sysinit:/etc/init.d/rcS
::once:-sh -c 'clear; setuidgid 0 sh; poweroff'
To recompress the initramfs archive, run the following shell script:
cd initramfs
find . -print0 \
| cpio --null -ov --format=newc \
| gzip -9 > initramfs.cpio.gz
mv ./initramfs.cpio.gz ../
Now run the run.sh script again, and you should be logged in as root!
/ # whoami
root
/ # id
uid=0(root) gid=0(root) groups=0(root)
Modifying run.sh for Debugging
Now we want to actually be able to attach gdb to the kernel so that we can debug as we craft our exploit.
Firstly, extract the bzImage file into a vmlinux binary using this script https://github.com/torvalds/linux/blob/master/scripts/extract-vmlinux.
Once that is done, we want to modify run.sh so that we can attach a debugger. I generally like to cp run.sh into another file (debug.sh) so that if I want to debug, I can use debug.sh, but if I just want to run the challenge with full protections, I can use run.sh.
Modify run.sh into debug.sh so that it looks like such:
#!/bin/sh
qemu-system-x86_64 -s -S \
    -kernel ./bzImage \
    -cpu qemu64,+smep,+smap \
    -m 4G \
    -smp 4 \
    -initrd initramfs.cpio.gz \
    -append "console=ttyS0 quiet loglevel=3 nokaslr" \
    -monitor /dev/null \
    -nographic \
    -no-reboot \
I have made 3 major changes:
- Adding
-sto the qemu options: Make qemu listen for a connection on port 1234. This allows us to attach gdb as a “remote debugger”. - Adding
-Sto the qemu options: Do not run anything until the debugger has been connected and the “continue” command has been issued. - Changing
kaslrtonokaslr: Debugging with KASLR is very annoying, so for the sake of convenience, we will turn KASLR off. However, remember that while doing the challenge, you would still require the necessary leaks to pwn the challenge.
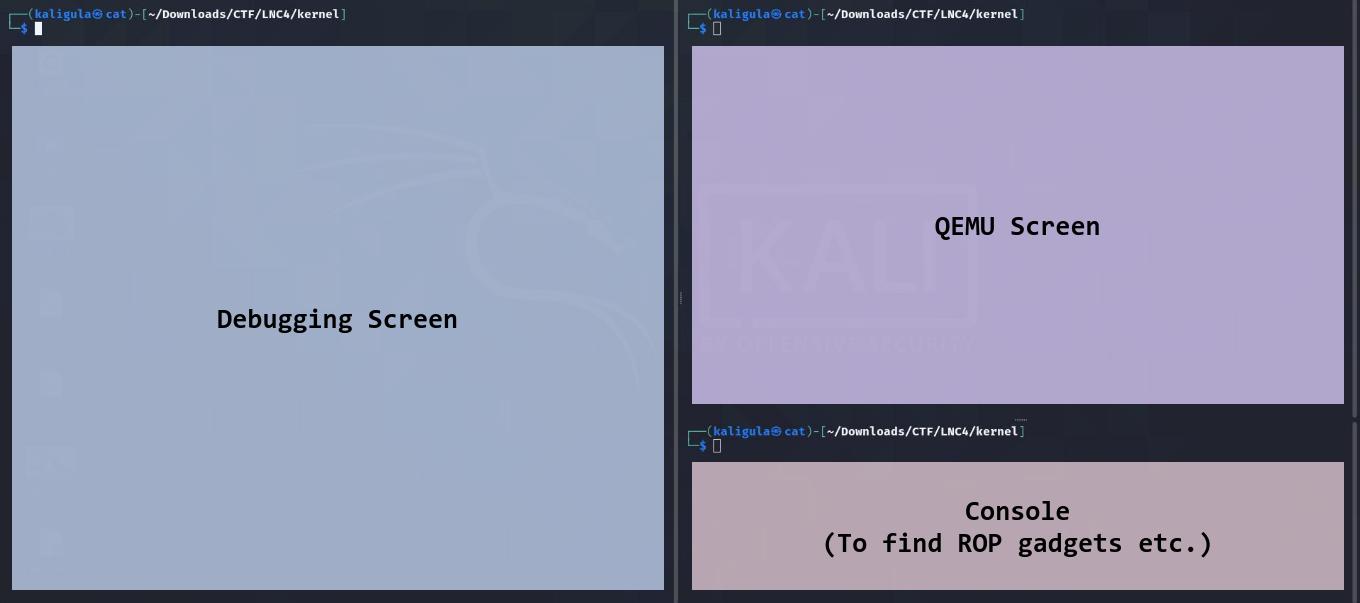
Now that that is done, it is time to debug! I have a very fussy way of doing this by splitting the screen into 3 so that I have everything on the same screen in a sense, but anything will work.

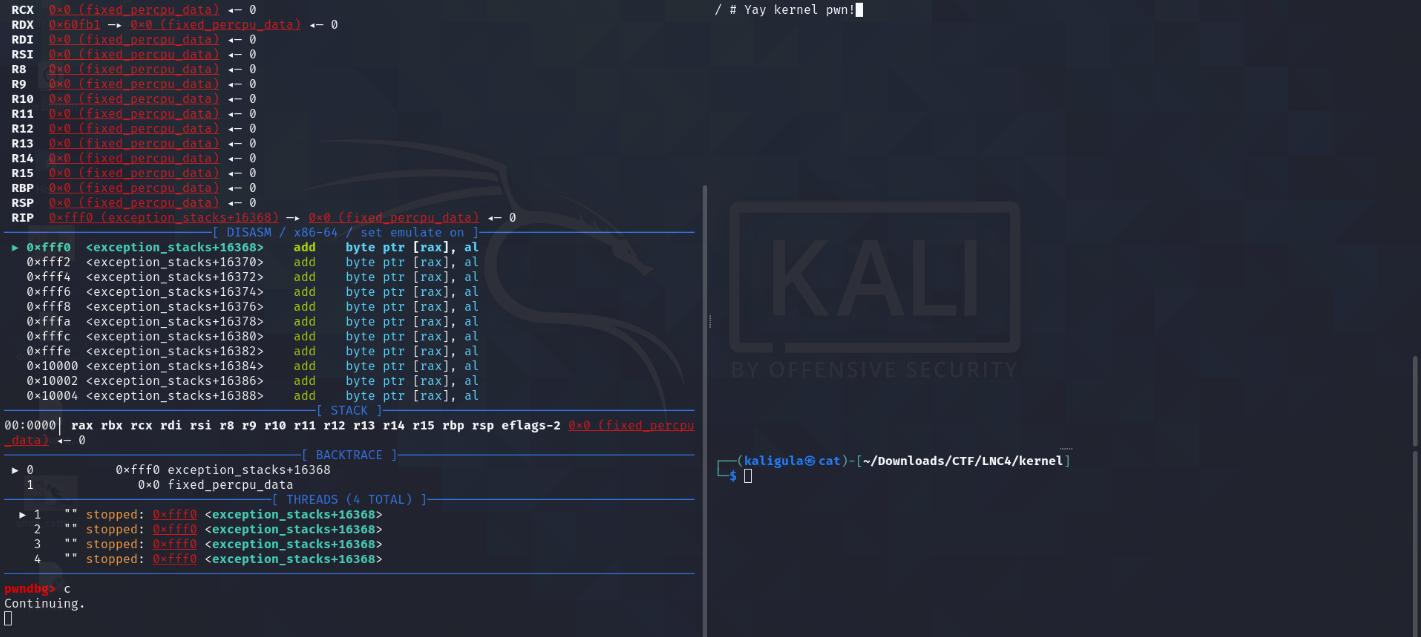
On the qemu panel, run ./debug.sh. You should see it hang until the debugger has been connected and “continue” has been issued.
On the debugging screen run:
gdb ./vmlinuxtar rem :1234– Short fortarget remote 127.0.0.1; this will connect gdb to port 1234 on your local machine (which was opened by the qemu instance)c– Short forcontinue
When this is all done, your screen should look like this:

Your setup is now complete! Now it is time to reverse engineer the module to find any fun bugs :D
For more stuff about learning kernel pwn you can check out: